


You’ve got the knowledge, the slides, the workflow — but the idea of recording yourself talking through all of it? Yeah, that part’s not so thrilling. Maybe it’s camera shyness, maybe you’re battling background noise, or maybe you just don’t feel like showing up in your hoodie with yesterday’s eyeliner.
Whatever the reason, there’s now a surprisingly warm solution: talking avatars powered by text-to-speech. With platforms like Pippit, creators are building high-quality how-to content using expressive digital guides that narrate slides, walk through screen recordings, and explain even the most complex steps — all without ever showing a human face.
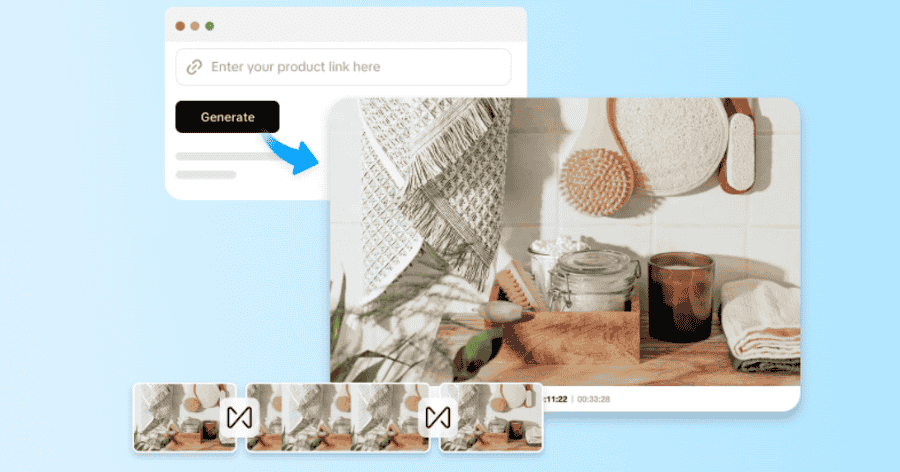
And it’s not robotic anymore. These avatars blink, breathe, gesture, and speak in customizable voices that sound like real people with real enthusiasm. Want to see how this works? Check out this link to video converter that turns a digital avatar walks through a design tutorial, step by step.
The joy of being offscreen but still on-brand
For tutorial creators, there’s always a balance to strike: being helpful and being presentable. But what if you didn’t have to do your hair, fix your lighting, or worry about being 'camera-ready' at all?
That’s where avatars step in. Despite their polish, they are relaxed. Additionally, they become an extremely captivating teaching tool when combined with slides, screenshares, or screenshot-based walkthroughs:
-
For silent creators: You don't have to record your voice if you're a quiet maker. For those who think best visually, you can maintain the focus on tabs, demos, and diagrams.
-
For ease of access: Viewers who need clear, captioned instructions are supported by avatars with text-to-speech narration.
-
For convenience: You only need a still image of yourself, not a video, thanks to developments in photo to video AI.
That image becomes a teaching assistant with facial expressions, matching your tone and intent with every line of your script.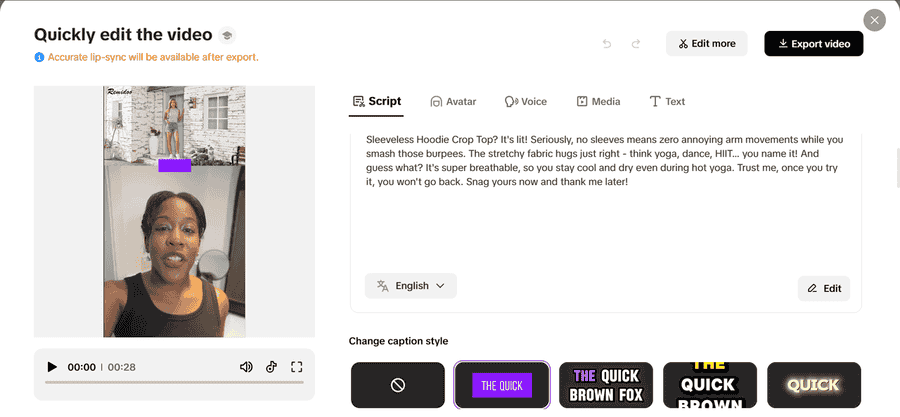
Where text-to-speech avatars shine in how-to content
Let's focus on a few of the most effective applications for tutorials that use avatars. They work across a range of disciplines, specialities, and even emotions. Use a confident guide to narrate tabs, features, and settings during program walkthroughs. Keep your screen clear of clutter; floating face bubbles are not necessary.
For clarity, provide screen annotations and pauses
Avatars that speak, smile, and gesture can be used in place of dull bullet points in presentations and slide tutorials. Use specific voice styles and transitions to manage the tempo. Make sure your avatar reflects your visual style. Allow your avatar to describe layers, brushes, or shortcuts while you screen record for breakdowns of the creative or design process. Add screenshots and connect them to your story. Use avatars to pause and summarize essential approaches.
Avatars keep your video from feeling like a silent slideshow or an awkward screencast. They add human energy, without human fatigue.
Custom avatar, custom vibe: match your tone, not your face
Before we jump into how to build one, let’s talk about the quiet genius of the custom avatar. This isn’t a generic animated presenter with a stiff smile. It’s a virtual version of you — or of the person you want representing your content.
Want your avatar to look like a friendly coach, a slick tech guide, or a chill peer explaining shortcuts? Pippit lets you:
-
Upload a real photo or stylized image
-
Select voice tones (casual, professional, upbeat, calming)
-
Adjust appearance and expressions
-
Align branding with backdrop and apparel selections.
Whether you’re camera-shy, privacy-conscious, or just looking for a fresher aesthetic, a custom avatar keeps your voice in the spotlight, even if your face takes a break.
Animate your expertise with Pippit’s custom avatars
Here’s how to take your next tutorial from static to dynamic, using your avatar on Pippit. The whole process is beginner-friendly — no advanced editing or voice acting required.
Step 1: Access avatars and voices
First, sign in to your account on Pippit. Within, use the dashboard to locate the Avatars and voices option. To personalize your virtual character, click the + button to upload the image that you want to transform into your avatar.
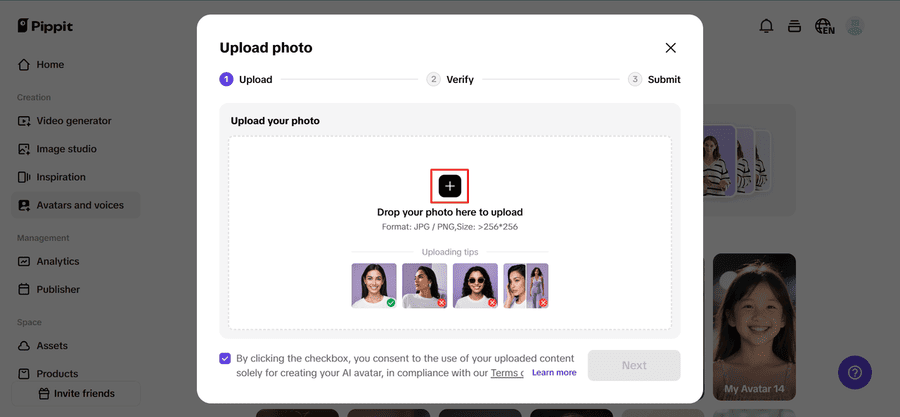
Step 2: Upload your photo profile
On the new page, upload or drag and drop your profile picture. The image will be automatically checked by Pippit's AI. Then, give a name to your avatar, choose an appropriate voice, and hit Submit to create and then customize your avatar by customizing its look and expression.
Step 3: Customize and export
Once your avatar is created, click Apply to begin the edit portion. Utilize the Edit script area in order to transform text to speech with variable styles. Press Edit more in order to insert transitions, audio, or backgrounds, then Export to determine quality and format for download or publication.
No camera. No microphone. Presented by your digital doppelganger, these instructions are incredibly clear.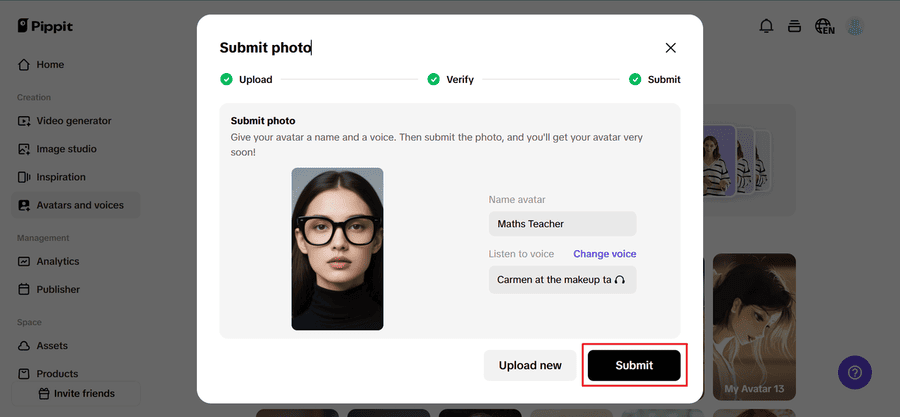
While you remain in your pyjamas, let your avatar do the explaining
Tutorials shouldn’t feel like auditions. If you’ve got knowledge to share, tools like Pippit help you share it in your own way — expressive, efficient, and on your terms. Whether it’s a 30-minute app walkthrough or a quick tip reel, avatars give you the flexibility to teach without needing to turn on the lights or the lens.
So go ahead — skip the studio setup. Let your custom avatar take the lead, and watch your how-to content becomes easier to make and more fun to watch.
Want to try it for yourself? Head to Pippit today and build your first avatar-narrated tutorial. Your slides are ready. Your script is ready. Now your digital guide is, too.


